Service Your Vehicle
Book regular servicing and inspections

Everything You Need To Know About
Your Tyres, Wheels & Vehicle Safety.
Expert advice, practical information and
guides to help you make the right choice.
Book regular servicing and inspections
Pressure, tread depth and damage
Inspect oil, coolant and washer fluids
Ensure all lights are working correctly
Prepare for weather and road conditions
Phone chargers and emergency devices

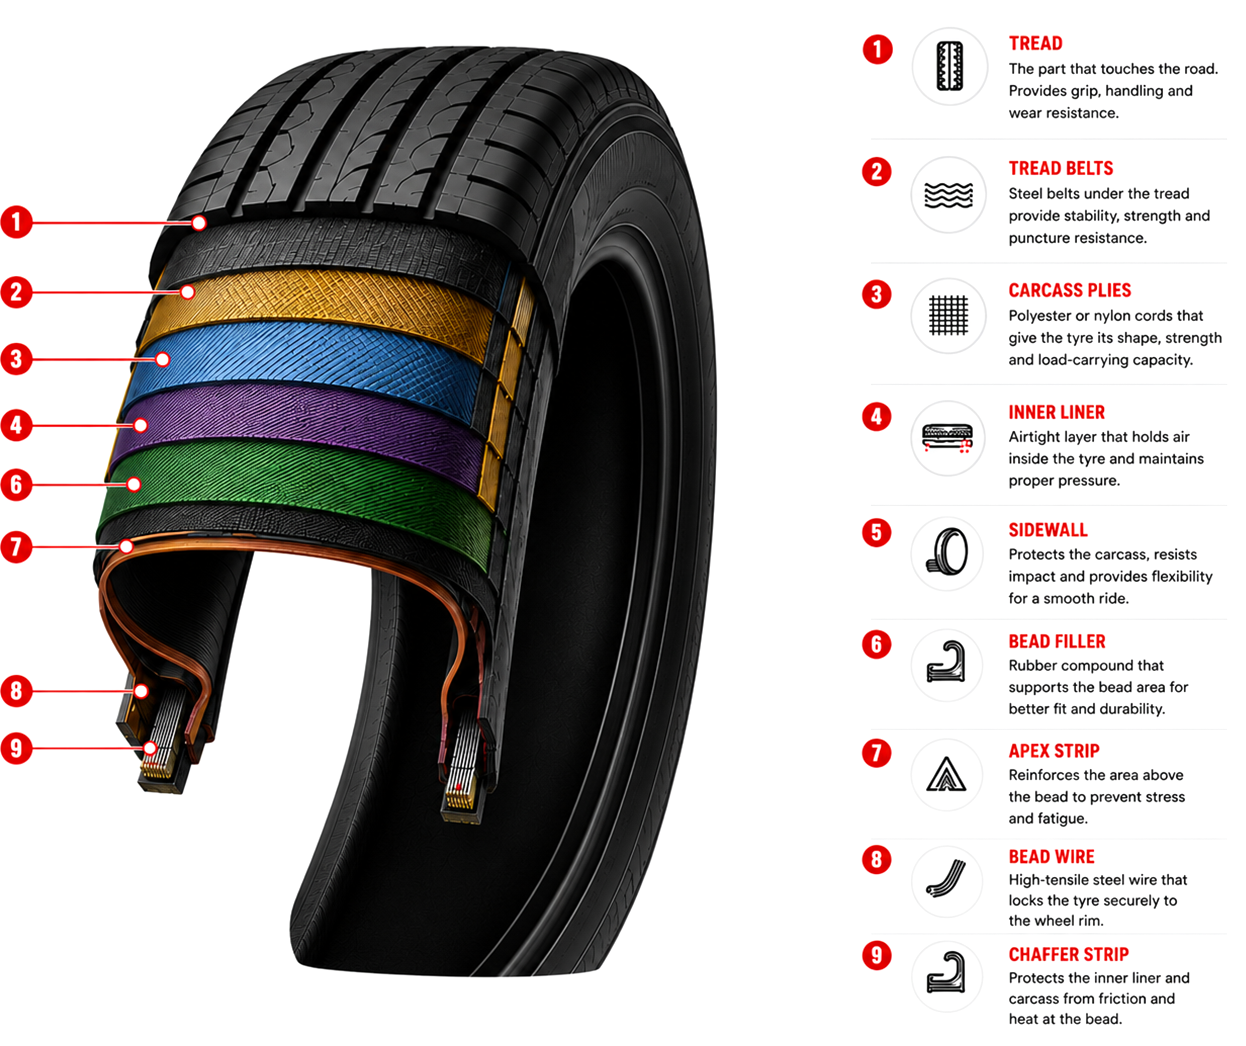
Your tyres are the only connection between your vehicle and the road, playing a critical role in your safety, comfort and overall driving performance every time you get behind the wheel.
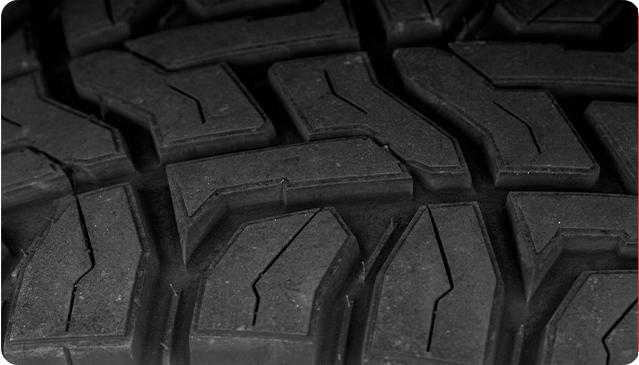

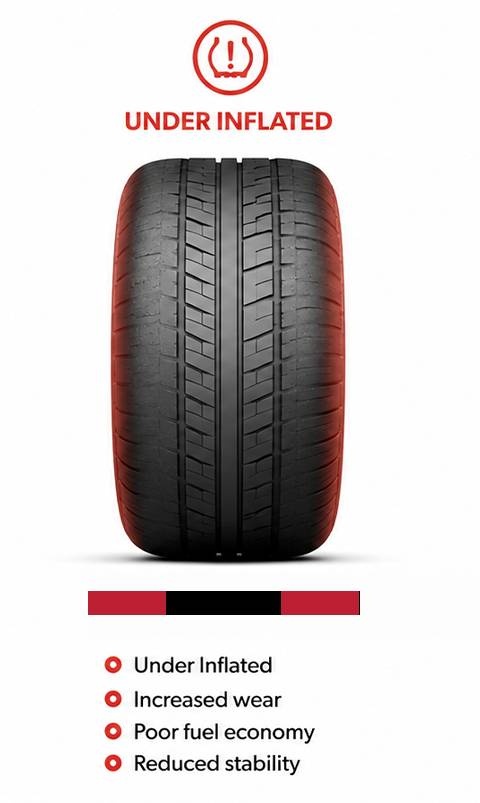
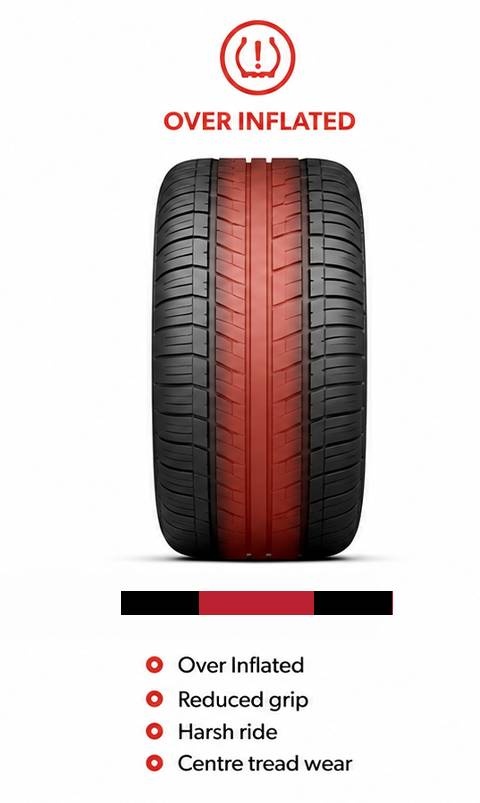
Tyre wear patterns can reveal important issues with tyre pressure, wheel alignment or suspension. Identifying uneven wear early can improve safety and extend tyre life.
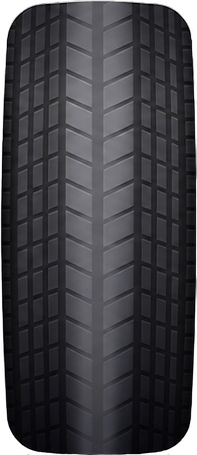
Usually
caused by
over inflation
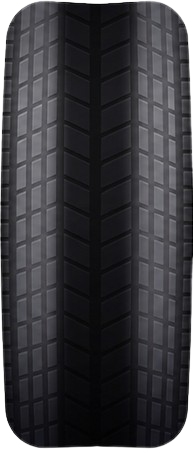
Usually
caused by under
inflation
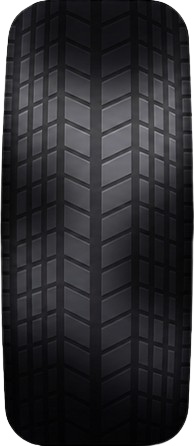
May indicate
wheel alignment
issues
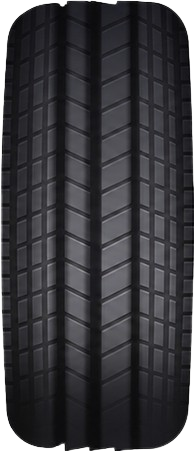
Caused by
suspension or
alignment problems
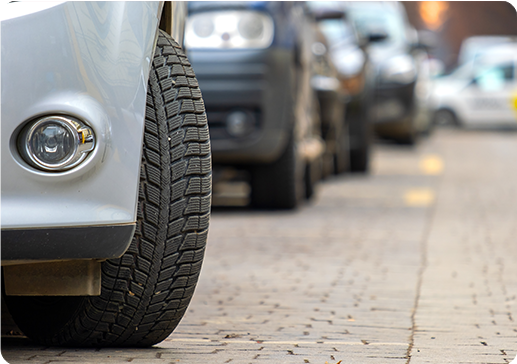
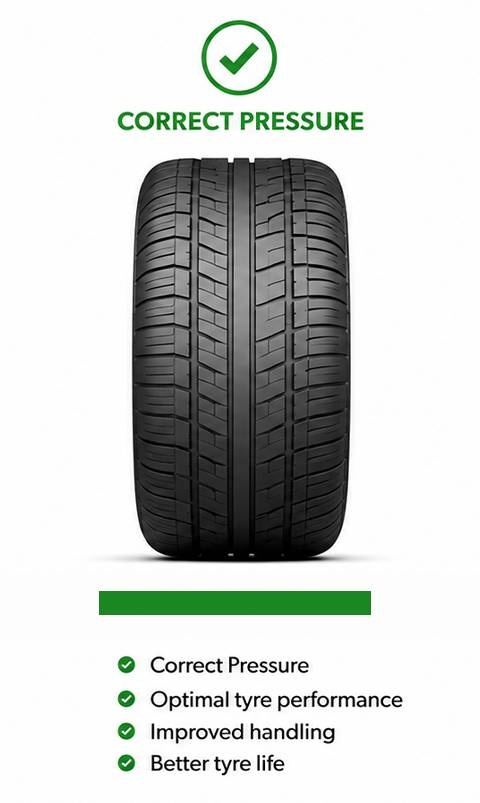
Correct tyre pressure plays a major role in your vehicle’s safety, handling, fuel economy and tyre life. Maintaining the recommended pressure helps ensure optimal performance, improved comfort and more even tyre wear in all driving conditions.
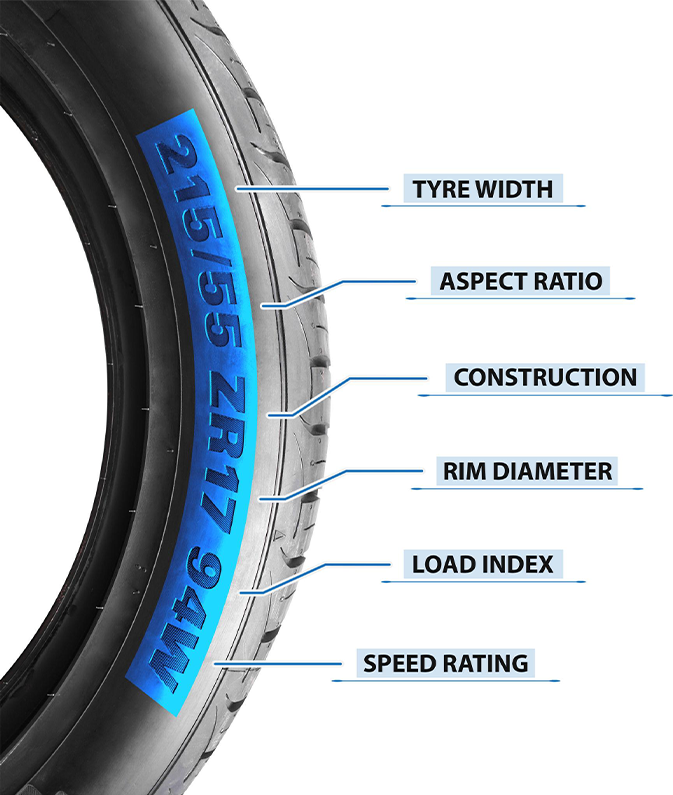
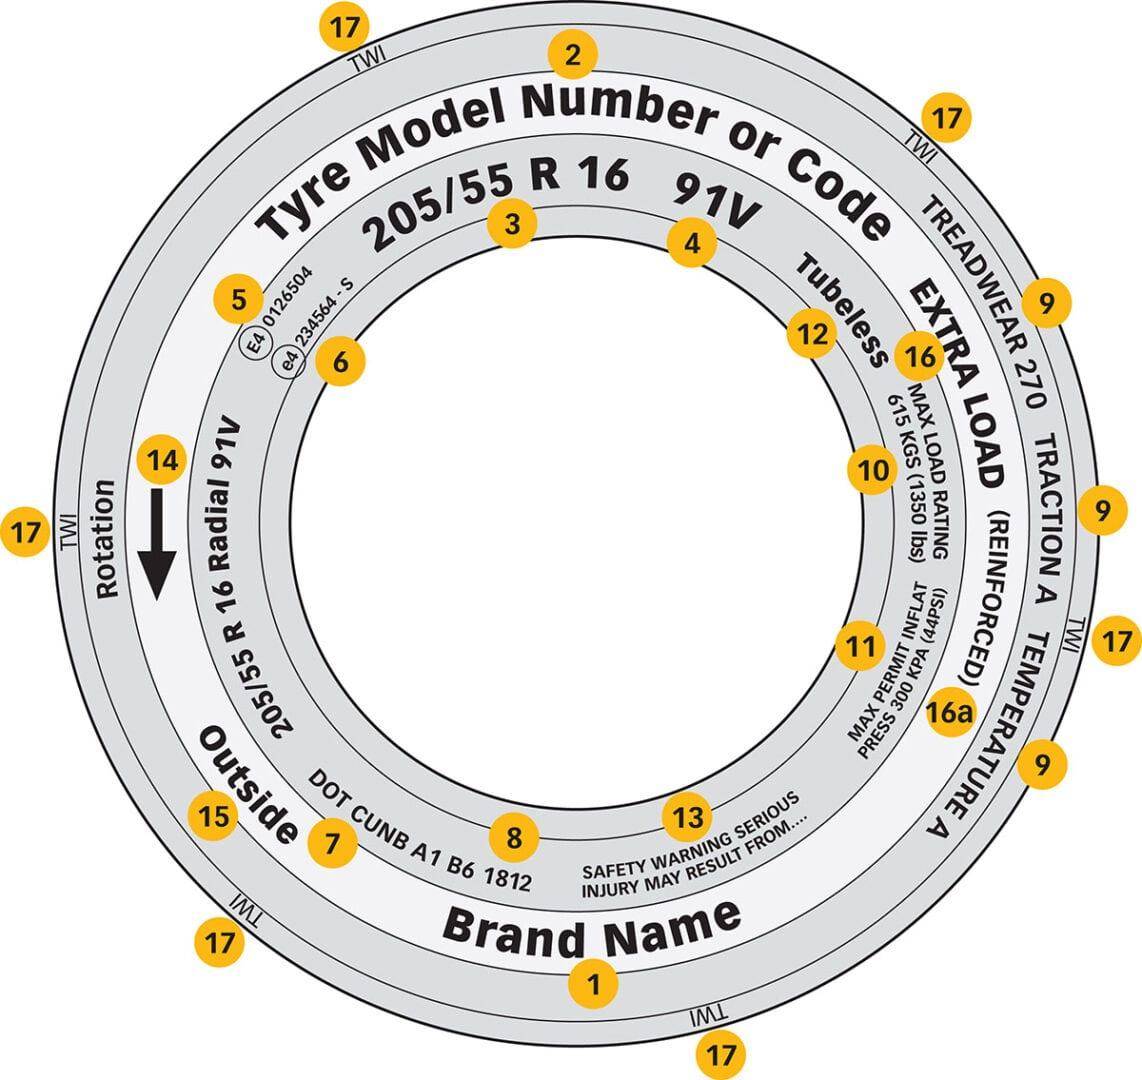
Understanding the markings on your tyre sidewall helps ensure you choose the correct tyre for your vehicle. Each number and letter provides important information about the tyre’s size, construction, load capacity and speed rating.
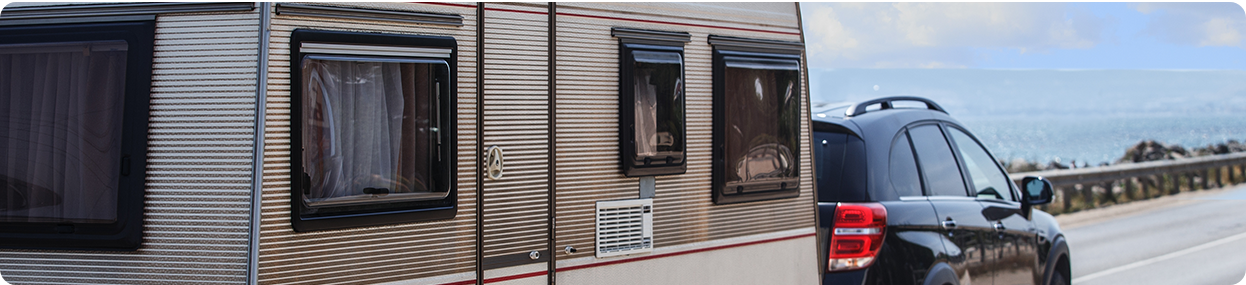

Towing generates additional heat and load which can significantly affect tyre performance.
Lower speeds reduce heat build-up and give you more control.
It takes longer to stop when towing. Leave more space between vehicles.
Stop every 2–3 hours to check your tyres and let them cool down.
Wide, slow turns reduce stress on tyres and help prevent sway.
Crosswinds can affect stability. Hold the steering firmly and slow down.
Check tyre temperatures regularly by touch or with a tyre temp gauge.
A little preparation today can make a big difference tomorrow.
Drive safe and enjoy the journey!
Map your route, check conditions and let someone know your travel plans.
Inspect tread, pressure and overall tyre condition - including the spare.
Check brakes, lights, fluids, wipers and battery before departure.
Keep your tank topped up, especially on long or remote trips.
Map your route, check conditions and let someone know your travel plans.
Everyone in the vehicle should wear a seatbelt, every time. It saves lives.
Put your phone away and stay focused on the road. Distractions can wait.
Carry essentials like a spare tyre, tools, torch and first aid kit.
Rotate tyres every 8,000–10,000km to promote even wear and extend tyre life.
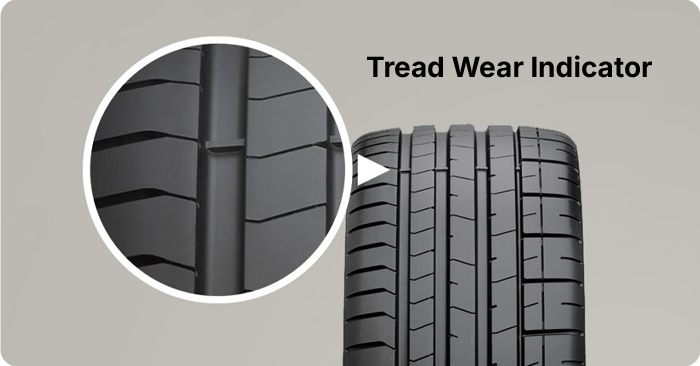
The legal minimum tread depth in Australia is 1.5mm.
Use a tyre pressure gauge and check pressures when tyres are cold.
Some punctures can be repaired depending on the damage and location.
Tyre life depends on driving conditions, maintenance and usage.
Replace tyres when tread is low, wear is uneven or damage is visible.